Red Sandstone Exterior Cladding NASA Johnson Space Center Building 21, Houston, TX Reminiscent of an Southwestern Desert skyline, Red Sandstone can be found all over the world in desert and dry areas. Colored by Iron oxide, Red Sandstone has a neutral warm red color. Red sandstone makes for great exterior cladding due to […]
StonePly CAD Drawings and Details
Looking for details and CAD drawings for StonePly attachment methods? Here is a quick guide.
Here are some typical details for StonePly. You can download the drawings here as either as pdf or dwg format.
Detailing stone used to be really hard. It was heavy, fragile, difficult to attach and hard to support and install. StonePly changed all of that. And since StonePly makes natural stone lighter, stronger and simpler to attach, there are hundreds of ways to use StonePly in your designs.
If you don’t find what you are looking for here or if you have a question about detailing, please contact us. We are here to help.
Z Clips and Adjustable Angles
If you are detailing a façade wall, the Z clip system with adjustable angles is our most popular option. Similar to the Z clip system, the adjustable angles allow for the depth of the cavity to be adjusted to allow for variations in the wall, allow for insulation and allow the stone façade to be hung straight and true. An angle is attached to the wall, the second angle is plumbed and leveled and then attaches to the first. The Z clips attach to the face of the angle.
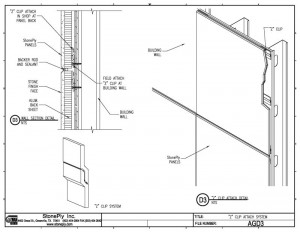
Z Clip Attachment System
The most popular method of attachment is the Z clip. For exterior cladding, the wall is waterproofed. Z clips are then attached to the wall with stainless steel screws. The StonePly panels have Z clips mounted to them and the panels are hung by the interlocking Z clips. If the wall is uneven, adjustable angles and Z clips are recommended.
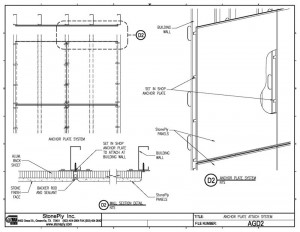
Anchor Plate Attachment System
The anchor plate attachment system is a screw attachment. It uses metal tabs at the perimeter of the StonePly and screws through the tabs at the joints. Stud spacing should align with the vertical joints and metal straps can be used horizontally to provide a substrate for the screws to attach to. Alternatively, a plywood sheathing can be used as a substrate.
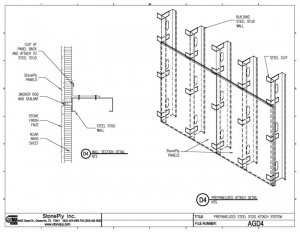
Panelized Steel Stud Attachment System
The pre-panelized steel stud or strong back system is a prefabricated metal frame that the StonePly panels attach to. The framed panels can then be hoisted into place and erected as larger wall panels. This is sometimes referred to as a strong back frame.
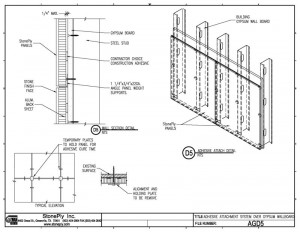
Adhesive Attachment System Over Gypsum (Interior)
For interior applications, StonePly can be attached by adhesive. Adhesive options include construction adhesives like PL Premium. A clean gypsum board wall is the substrate. Adhesive is applied to the backs of the panels in walnut sized dabs at 16” spacing. The panels are then pressed into place. Spacers are used to maintain the joint spacing.
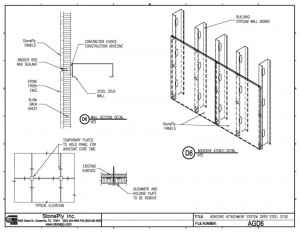
Adhesive Attachment Over Steel Stud
Similar to the adhesive attachment over gypsum board, this method allows you to attach directly to steel studs with adhesive.
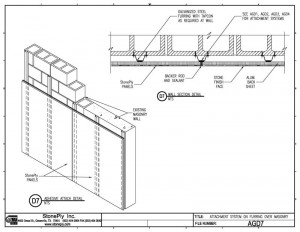
Attachment System on Furring Over Masonry
For panels over masonry walls, hat channels allow for trueing up the wall and providing a flat and true surface to attach the StonePly.
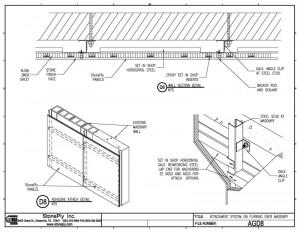
Attachment System on Furring Over Masonry
A stud is attached to masonry wall. StonePly has a channel mounted to the back and screws are used to secure the StonePly panel.
Typical
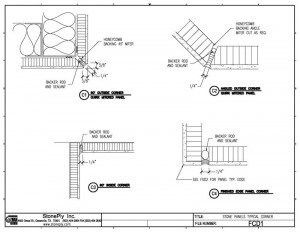
Stone Panels Typical Corner
Details of the more common corner conditions and joints. Outside corner quirk miter, Angled Outside Corner, Inside Corner and Finished Edge Corner.
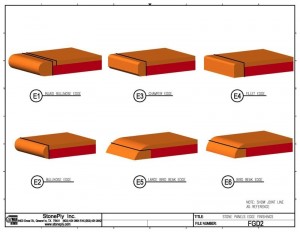
Stone Panels Edge Finish
For counter edges and furniture edges, the typical edge details.
Condition
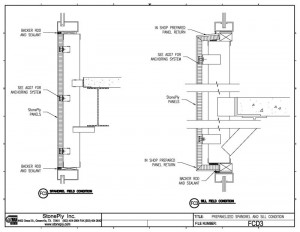
Pre panelized Spandrel and Sill Condition
Panels and spandrel panels can be pre-panelized onto a steel or aluminum frame to allow them to be lifted into place as one large unit.
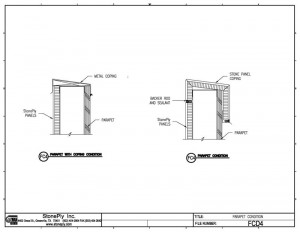
Parapet Condition
Details of parapet cap options. A metal cap or a fabricated StonePly cap.
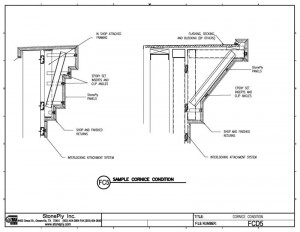
Cornice Condition
For complex stone cornices, StonePly allows the creation of preassembled cornices on metal frames. Two examples are shown here, but the possible shapes and sizes are limitless. In most cases the cornice should drain the water back to the roof to avoid water running over the stone face.
StonePly Restroom Partition Drawings
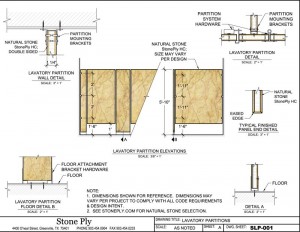
Floor Mounted Lavatory Partition Mounting Details
Drawing of floor mounted stone restroom partition. Applicable to granite or marble toilet partitions with floor mounting.
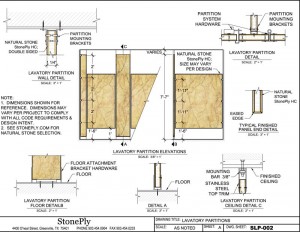
Floor and Ceiling Mounted Lavatory Partition Mounting Details
Drawing of restroom partition mounted at both the floor and ceiling. For granite or marble toilet partitions.
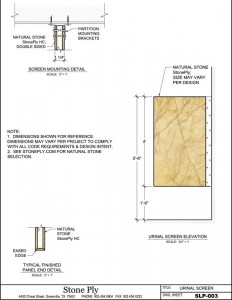
Wall Hung Urinal Screen Mounting Details
StonePly urinal screen details.
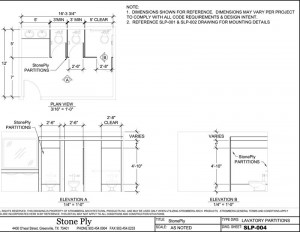
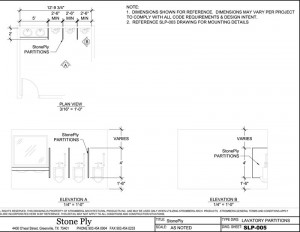
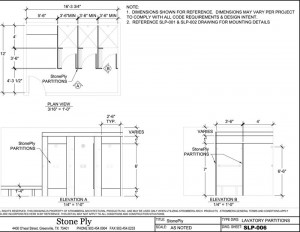
Lavatory Partition Dimension Details
Plan view of restroom partition layout for marble or granite toilet partitions.
Urinal Screen Dimension Details
Plan view of marble or granite urinal screens
Shower Partition Dimension Details
Plan and elevation of stone shower partitions
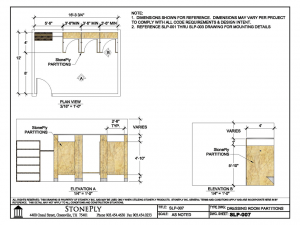
Changing Room Partition Dimension Details
Dressing room plan and elevation with stone dressing rooms
No comments yet.